|
XinXiang CL Metal Products Co.,Ltd
|
Gold Index: 19007
You are here: home > helicoil kit > How To Use Helicoils ?
How To Use Helicoils ?
| Price: | 5.0~10.0 USD |
| Payment Terms: | T/T |
| Special Groups: |
helicoil kit (31)
|
| Place of Origin: | Henan, China (Mainland) |
|
|
|
| Add to My Favorites | |
| HiSupplier Escrow |
Product Detail
Model No.:
M6*1
Production Capacity:
50000 pre day
Delivery Date:
5-10days
Type:
Hand Tools
Brand Name:
CL
Materials:
HSS
Classification:
Helicoil kit
Means of Transport:
Air
Packing:
Steel Box/Plastic Box
Application:
Others
Package:
Box
Certification:
ISO9001:2008
Standard:
GJB
Pack:
Steel box
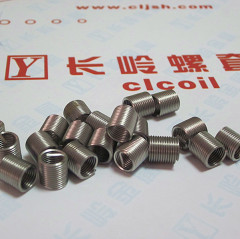
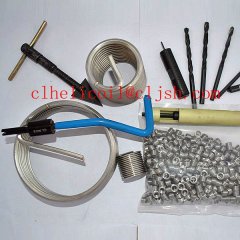
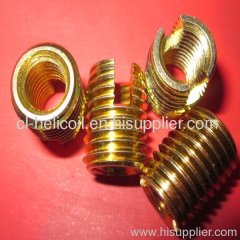
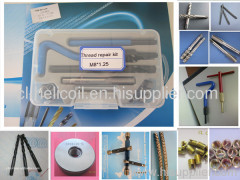
1. helicoil inserts
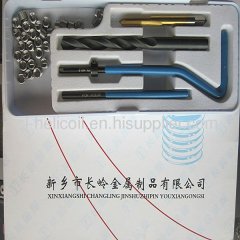
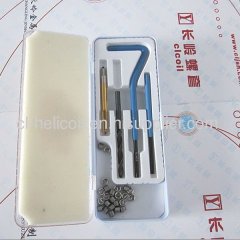
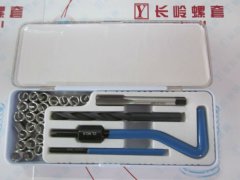
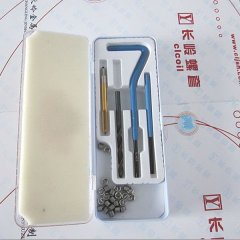
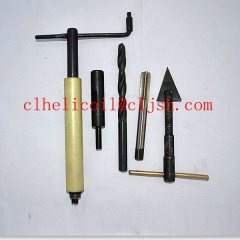
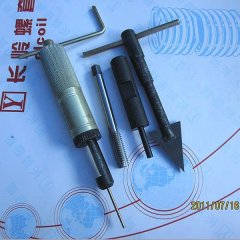
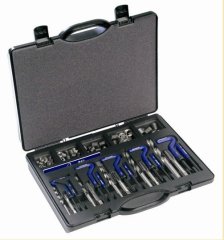
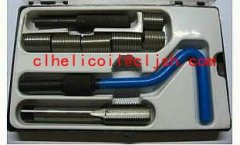
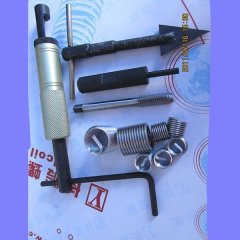
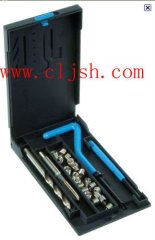
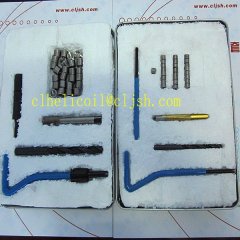
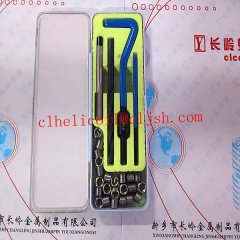
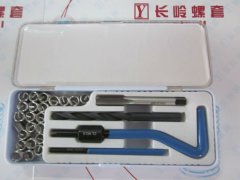
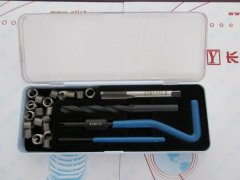
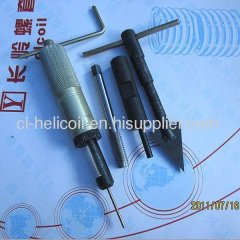
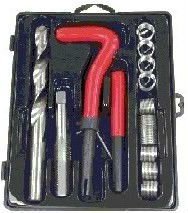
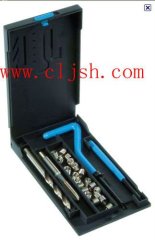
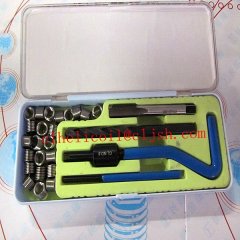
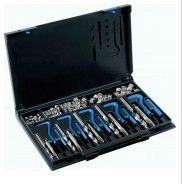
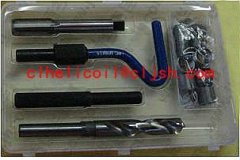
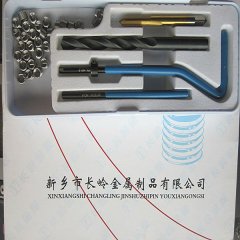
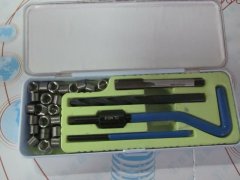
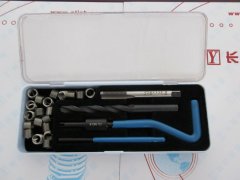
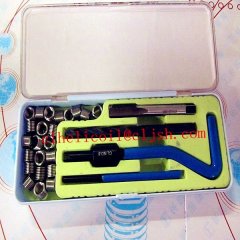
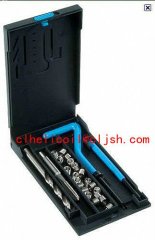
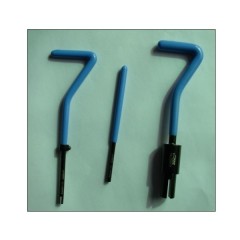
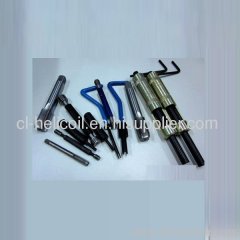
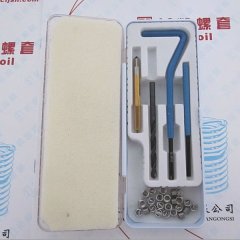
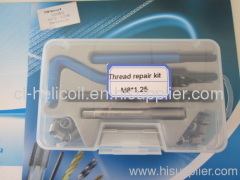
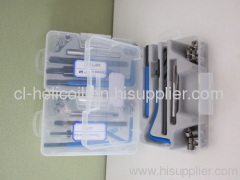
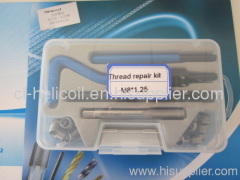
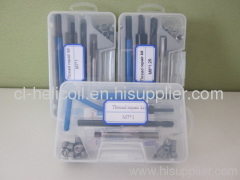
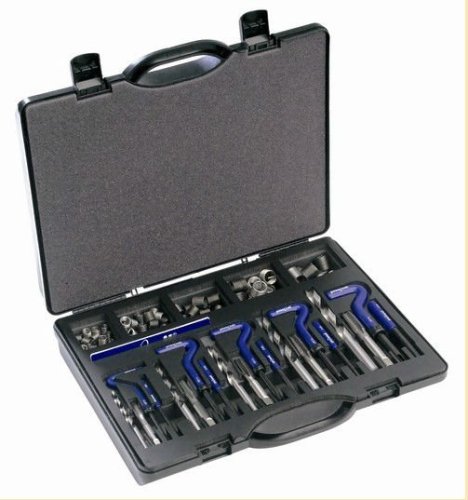
2. helicoil kit(tap/spanner/drill/punch and some helicoil inserts)
3. 304SS/HSS
4. ISO9001 products
5.Wholesale
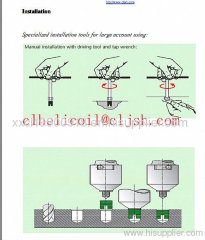
1.The first thing you have to do is to drill out the hole, just make sure
you have the drill as straight as possible. The drill bit for my kit was
21/64in size so it left me with a perfectly flush hole with no sign of
the old thread. Thankfully I was able to leave my fender in place for
the job as it meant less stuffing around.
2.Next you have to tap a new thread using the tap that comes with the
kit. The tap is tapered at the front end to help you get the thread
started and using a shifter you wind it through the hole. Make sure
you wind it all the way through until you stop feeling "resistance"
as this means the hole is now completely tapped with the new thread.
Gently wind out the tap with the shifter and when you do you shouldn't
feel any resistance, in fact you may even be able to twist it out with your fingers.
Now you get one of the helicoils and using the tool supplied you wind
it into the new thread until it is flush with the frame (sorry no picture).
You also shouldn't feel any resistance as you do this but if you do you
may just need to clean the thread up a little. It is also at this point why
the drill bit size is so important, as the outer thread of the helicoil will
match the newly tapped hole, the inner thread of the helicoil will match
your bolt size.
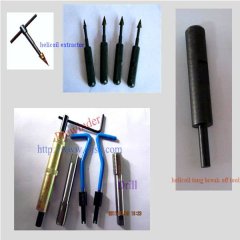
One the coil is in place you use the little punch that should come
with the kit to knock the little tang off the end of the helicoil that
assisted with winding it in. Don't try to twist this off (unless the
instructions say to) as you may warp the helicoil and you don't want
to do that.
Related Search
Use Machinery Plastic
Daily Use Plastic
Car Use Led
Car Use Light
Daily Use Product
Daily Use Mould
More>>
Find more related products in following catalogs on Hisupplier.com
Company Info
XinXiang CL Metal Products Co.,Ltd [China (Mainland)]
Business Type:Manufacturer
City: Xinxiang
Province/State: Henan
Country/Region: China (Mainland)
You May Like:
Product (277)
- Encryption Products (1)
- helicoils (15)
- helicoil kit (133)
- helicoil tools (125)
- Others (3)

