|
XinXiang CL Metal Products Co.,Ltd
|
Gold Index: 19007
You are here: home > helicoil kit > Export Helicoil Repair Kit
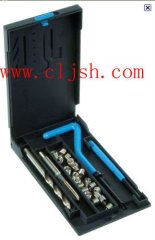
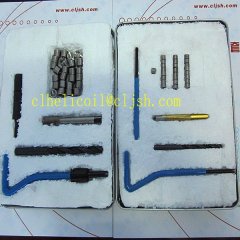
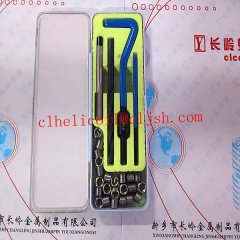
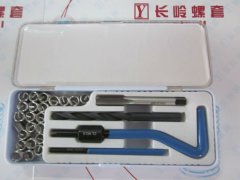
Export Helicoil Repair Kit
| Price: | 5.0~10.0 USD |
| Payment Terms: | T/T |
| Place of Origin: | Henan, China (Mainland) |
|
|
|
| Add to My Favorites | |
| HiSupplier Escrow |
Product Detail
Means of Transport:
Air
Packing:
Steel Box/Plastic Box
Application:
Others
Package:
Box
Certification:
ISO9001:2008
Standard:
GJB
Pack:
Steel box
Production Capacity:
50000 pre day
Delivery Date:
5-10days
Type:
Hand Tools
Brand Name:
CL
Materials:
HSS
Classification:
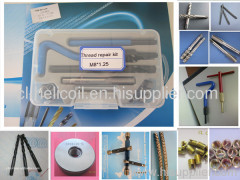
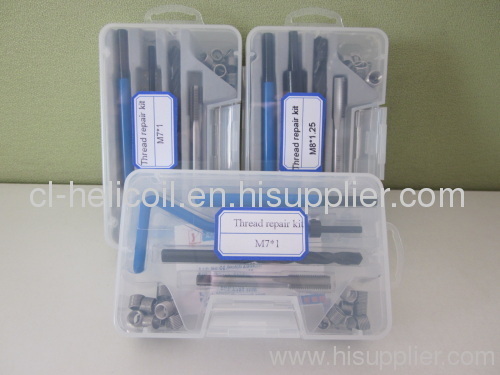
Helicoil kit
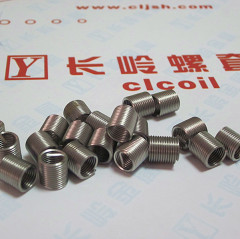
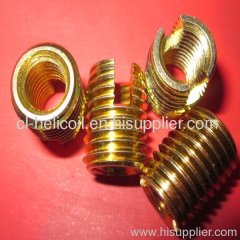
1. helicoil inserts
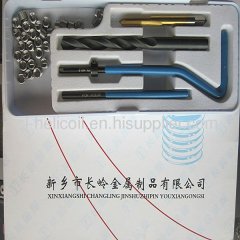
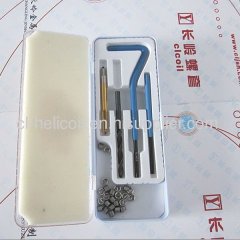
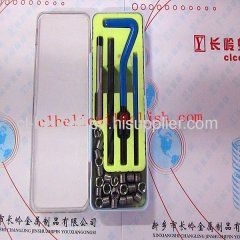
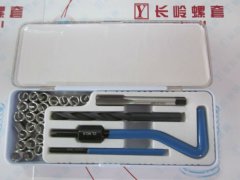
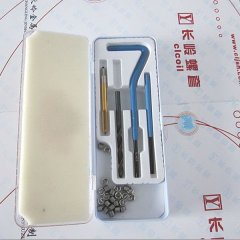
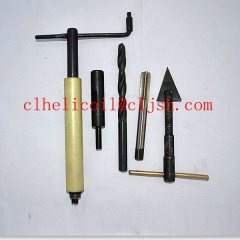
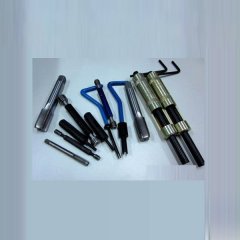
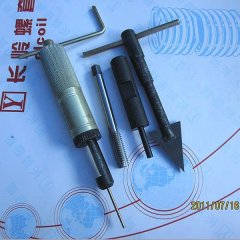
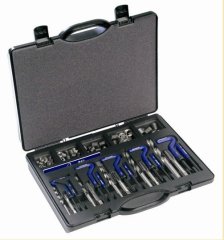
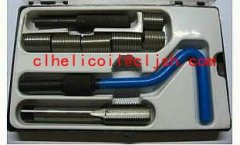
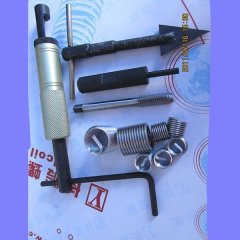
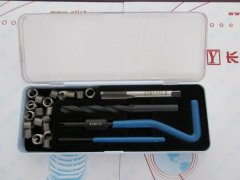
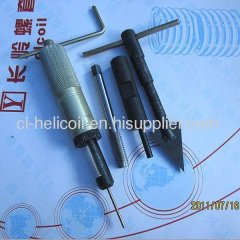
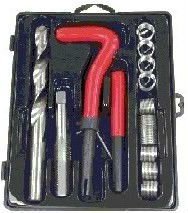
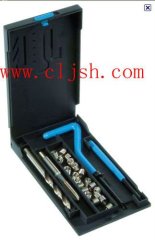
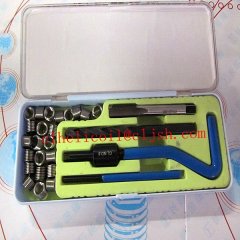
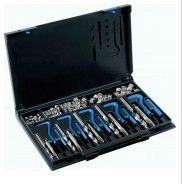
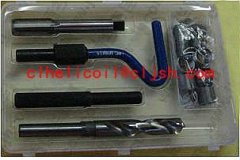
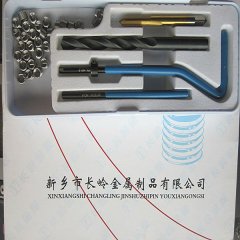
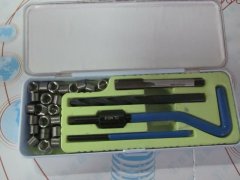
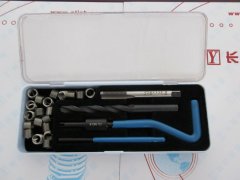
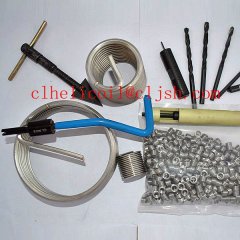
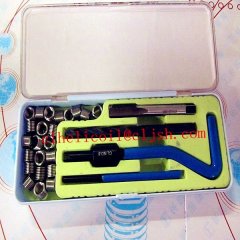
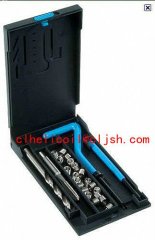
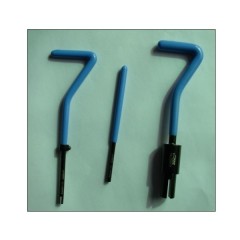
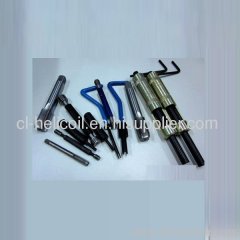
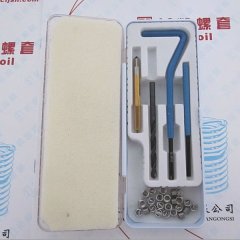
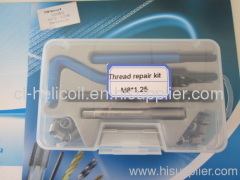
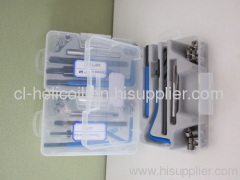
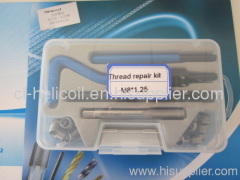
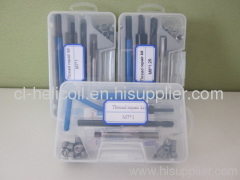
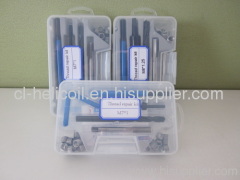
2. helicoil kit(tap/spanner/drill/punch and some helicoil inserts)
3. 304SS/HSS
4. ISO9001 products
5.Wholesale
Helicoil Repair Kit Features:
1.High strength.
2.Corrosion resistance.
3.First grade quality.
4.Easy to operate.
5.Can be supplied anytime.
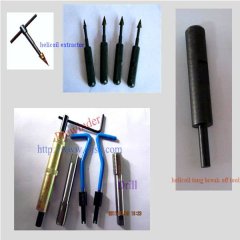
Helicoil Hand Tools:
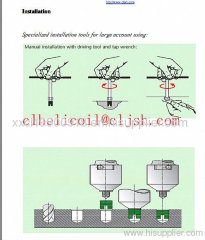
DRILL
Drill out the damaged threads using the drill supplied in the kit.
Drill to a sufficient depth to accommodate the insert length and the
bolt or screw being used.
TAP
Tap the hole using the Heli-Coil tap supplied in the kit.
Check the size on the shank of the tap to be sure it is the right size.
Tap the hole to sufficient depth to accommodate the insert length
and bolt or screw being used.
INSTALL
Install the appropriate length insert from the kit. Use the installation
tool supplied in the kit or set. Wind the insert into the hole until the top
coil is1/4 to 1/2 turn below the top surface.
TANG REMOVAL
Remove the tang by using the tang breakoff rod (when supplied with the kit)
or a punch which fits the inside of the insert. Place the punch or
rod squarely on the tang and strike sharply.
For insert over 1/2 inch, 12mm, or for spark plug inserts, use long
nose pliers. Holding the tang with the pliers, bend it alternately in
and out until it comes free.
Note: For Spark Plug repairs, NO drilling is necessary. The Heli-Coil spark plug kit contains a piloted reamer tap.With this tap, the
damaged threads are removed and new threads are cut in one
continuous operation.
Related Search
Repair Kit
Auto Repair Kit
Brake Repair Kit
Tire Repair Kit
Bike Repair Kit
Toilet Repair Kit
More>>
Find more related products in following catalogs on Hisupplier.com
Company Info
XinXiang CL Metal Products Co.,Ltd [China (Mainland)]
Business Type:Manufacturer
City: Xinxiang
Province/State: Henan
Country/Region: China (Mainland)
You May Like:
Product (277)
- Encryption Products (1)
- helicoils (15)
- helicoil kit (133)
- helicoil tools (125)
- Others (3)

